Setting Up Classes and Enrolling Students
You can have one or more classes as part of your Learn Engines account. Visit the Classes page from your Learn Engines dashboard to create and manage your classes.
Creating a Class
To create a new class visit the Classes page and click the New Class button. Enter a class name and press the Save Class button.
Editing a Class
Find the class you want to edit in on the Classes page. Here you can change the name of the class, view the students currently in the class, add one new student, or import multiple students at once.
Import a Class List
If you have multiple students to add, the easiest method is to use the Import Class List tool. To access this tool, select a class from the Classes page and the click the Import Class List button.
The import tool only imports one class at a time. Your class list must be saved as a CSV spreadsheet (.csv is a type of file that can be exported from Excel software) before it can be uploaded. Follow the instructions on the page which will guide you through the rest of the import process.
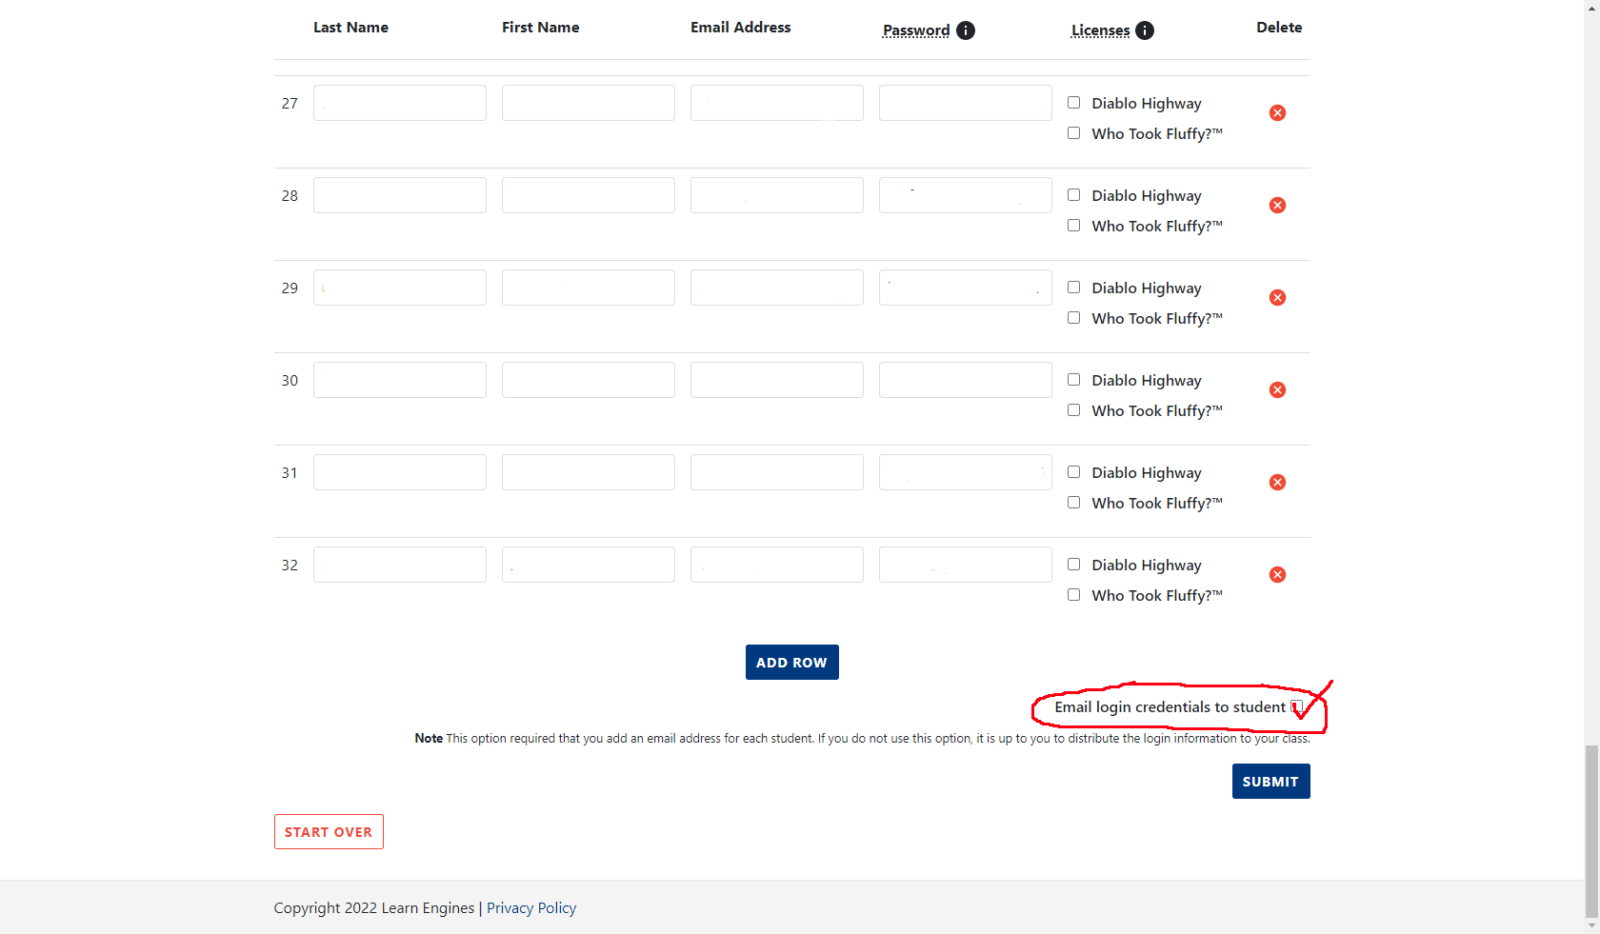
If you would like to have our system automatically email students their login credentials, select this radio button on the bottom right of the screen.
Deleting a Class
At the bottom of the Edit Class page is a delete button. Deleting a class will also delete every student in the class. Once you delete a student all of their information will be erased. The student will no long be able to access their account and you will no long be able to see their grades or progress in any activities they may have done. Deleting a class and its students is permanent and cannot be undone!